How do I restore a backup with advanced backups?
Back to emailOn our shared hosting servers, you can always restore a backup yourself.
On some servers this is done through JetBackup, on other servers this can be done through the Advanced Backup module.
Which option is available depends on the server hosting package.
Step 1: logging in
Log in to our customer portal via: my.oxxa.com.
Click on Hosting in the left menu.
Behind the relevant hosting package, you will see three icons on the right side. Click on the icon with the door and arrow to open the hosting control panel.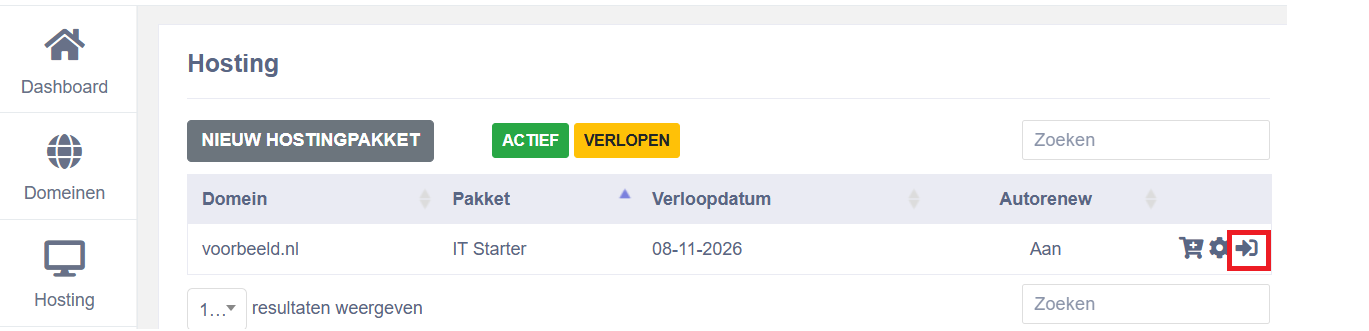
Note: A new window will open. If this window does not appear, check if the browser's pop-up blocker is blocking the window.
Step 2: Open Advanced Backups
- In the left menu, click on Extra Features / Additional Programs.
- Then choose Advanced Backups.
Step 3: Choose a backup
- Select the date and time.
- Click on the desired date, the last (bottom) backup is the most recent, if it is correct it is from last night.
- Then wait, 30 -60 seconds, retrieving the files etc can take quite a long time.
Step 4: Select files
- Once it is ready you can click browse files, you can then download or restore some files, or you can select it the domain name and restore all files.
- Also you can restore emails select in that case from which email address or a database. .
Step 5: Restore backup
- Click on Restore. or Download selected data and click on I confirm existing data will be overwritten.
- Depending on the size of the website, the restore may take several minutes. During this process, we recommend not making any changes to the website.
- Once the restore is complete you will receive a message in your control panel.
